Ramblings of a Coder's Mind
Got Tech? Will Hack.
Torrenting on Linux
As of today, the primary OS on my laptop is Ubuntu and since torrenting is a good way to get open source applications (such as Eclipse), I thought I should definitely invest the time to get a decent torrent client. I’m not saying that Transmission isn’t a good client. I certainly can’t say that since I haven’t used it for more than 5 minutes. I simply lacks umph. It really doesn’t impress me as much as uTorrent does on Windows. So let’s look for an alternative client.
Using uTorrent with Wine is always a popular option, one most Windows to Linux converts happily embrace. Let’s face it, uTorrent is awesome. But I really wanted to embrace Linux which for me meant to stop using the mouse and GUI as much as possible (not that difficult for me) and getting used to native applications rather than applications via Wine. This meant no more uTorrent for torrenting and no more mIRC :( The alternative I settled for came highly recommended by quite a few users. And oh, look at that, it’s terminal based. Of course, I’m talking about rTorrent ;)
I have tried to install rTorrent before and failed. This time around, I had managed to get rTorrent to install and work fine but I couldn’t get a webUI for it to work. So I had dt walk me through the process. I’ll try to document as much of it as possible to help users going through the same issue.
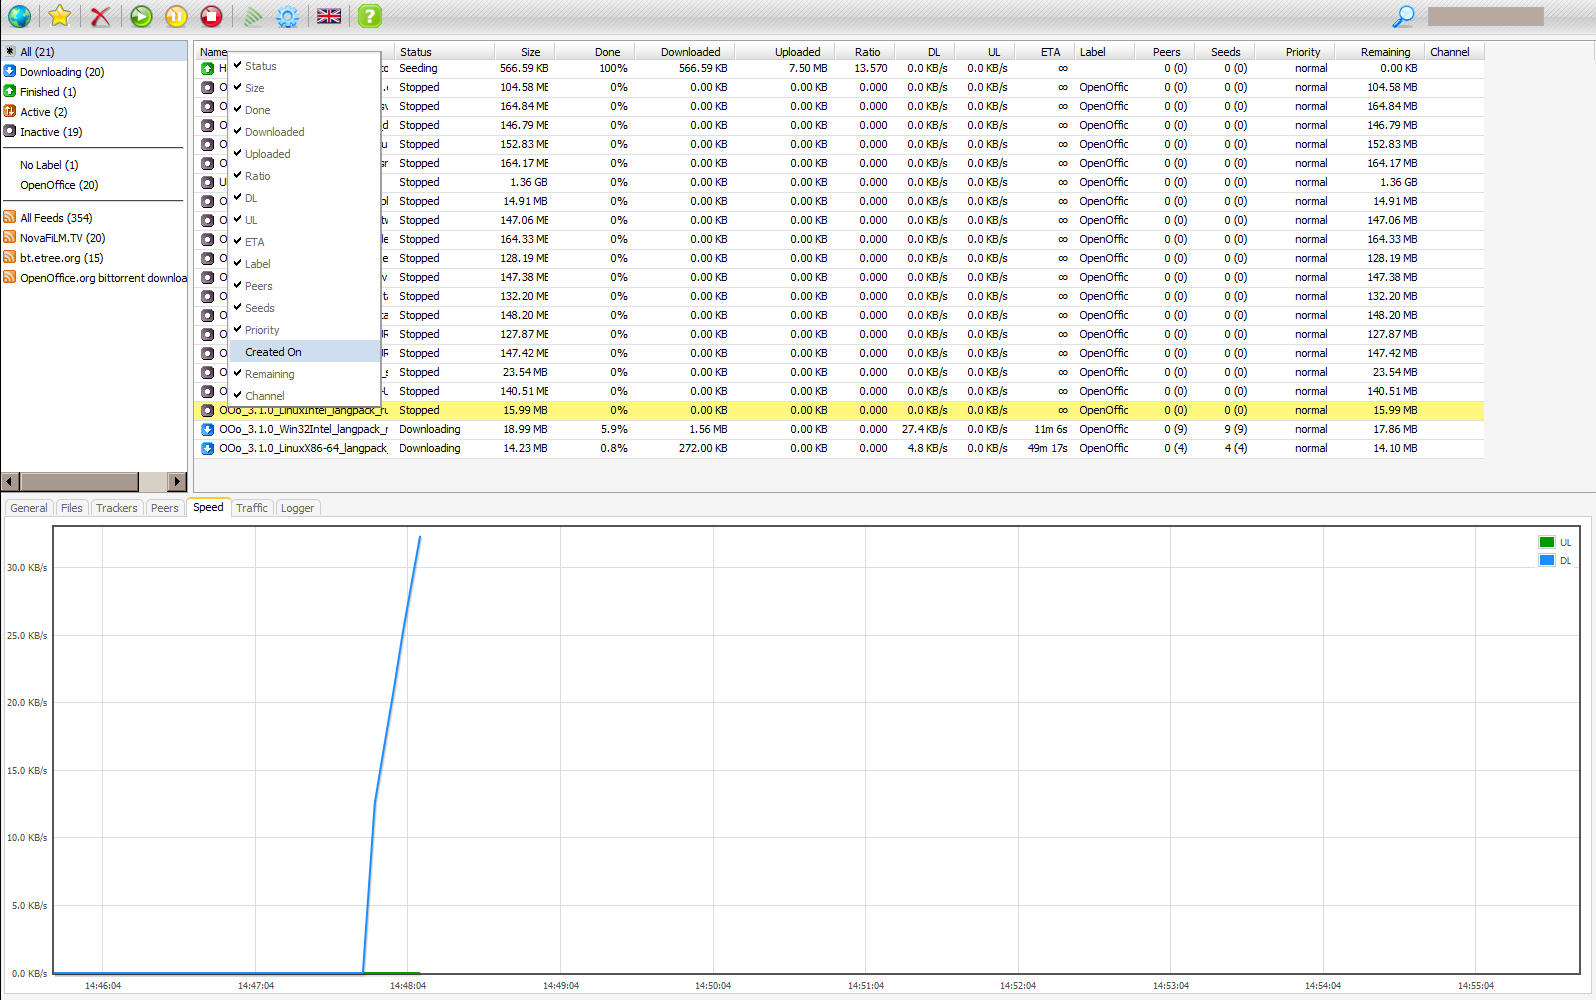
If you want to see a couple of screen shots of the end result before beginning, visit the rutorrent website and check out the screen shots. The best part about it is the tracker based, per torrent and global settings along with the pretty amazing traffic plug-in which gives your multiple (group) views of your traffic statistics. It’s pretty cool ;)
The first step is to install XMLRPC-C followed by libTorrent and finally rTorrent. These steps are pretty well documented in this installation guide for XMLRPC-C and this installation guide for libTorrent and rTorrent with a few changes. I’ll note the changes in commands in bold.
Before beginning, make sure you have the following packages:
- make
- pkg-config
- sigc++-2.0-dev
- libncurses-dev
- libcurl-openssl-dev
Installing XMLRPC-C: (Note: You should have xmlrpc-c v1.07 and up for a rather bug free rutorrent)
cd /usr/src
  wget http://dfn.dl.sourceforge.net/sourceforge/xmlrpc-c/xmlrpc-c-1.11.00.tgz
  tar xvf xmlrpc-c-1.11.00.tgz
  cd xmlrpc-c-1.11.00
  ./configure --disable-cplusplus
  make
  make install
Installing libTorrent:
cd /home/rtorrent
svn co svn://rakshasa.no/libtorrent/trunk

cd /home/rtorrent/trunk
cd libtorrent
./autogen.sh
./configure
make
make install

cd ../rtorrent
./autogen.sh
./configure --with-xmlrpc-c
make
make install
Next, make a .rtorrent.rc file in your home folder with appropriate settings. The line in bold is what we need to set up the webUI.
scgi_port = 127.0.0.1:5000
encoding_list = UTF-8

min_peers = 10
max_peers = 50

min_peers_seed = -1
max_peers_seed = -1

max_uploads = 10

upload_rate = 20

directory = /home/karun/share/torrents/

session = /home/karun/share/torrents/session
schedule = watch_directory,5,5,load_start=/home/dt/share/torrents/auto/*.torrent
schedule = trafic,10,00:05:00,"execute={sh,-c,php /var/www/rtorrent/plugins/trafic/update.php& exit 0}"

port_range = 55556-55560

check_hash = no

use_udp_trackers = yes

dht = auto
dht_port = 55555

peer_exchange = yes
Our next step is to get the WebUI which needs the following packages
- apache2
- php5-cli
- libapache2-mod-php5
- php5-xmlrpc
- php5-sqlite
- libapache2-mod-scgi
After making sure the above packages are installed, run the following 2 commands on terminal to enable apache modules (in case they aren’t already)
- a2enmod php5
- a2enmod scgi
The next step is to edit /etc/apache2/httpd.conf with your favorite editor and adding the following lines
<location "/RPC2">
SCGIHandler On
SCGIServer 127.0.0.1:5000
</location>
Once done, save and exit. You’re all ready to do get the webUI. It’s important to note that rTorrent has a plethora of WebUIs for itself. We are going to use rutorrent for this purpose. Why? Because I like the addons :P If you plan to use some other WebUI, please go ahead and ignore the rest of this tutorial. If you are installing rutorrent, follow what I say.
The first step now is to get the rutorrent files off it’s SVN. Here’s what I do.
cd /var/www
svn checkout http://rutorrent.googlecode.com/svn/trunk/rtorrent
Simple enough? Let’s edit the config to make sure it’s what we want. Open up config.php in /var/www/rtorrent and make sure it has
$scgi_port = 5000
$scgi_host = "127.0.0.1"
Well, we’re all done with the basic installation of WebUI. You can start using it right now! You have to make sure your apache is started and so is your rTorrent. If you don’t already know, you can start apache using sudo /etc/init.d/apache2 start and rtorrent by simply typin rtorrent into your terminal though you should consider screening rtorrent which you can do by typing out screen rtorrent _in your console followed by the sequence _ctrl+a ctrl+d to detach from the application and keep it in the background :) To check out your hard work, go to http://localhost/rtorrent. If everything is working fine, you should get the page with no errors. The errors I got were for the scgi port and host when I didn’t have rtorrent started up in the background and when I didn’t have a sessions folder when I said it existed in the config. The former needs you to run rtorrent directly or screening it while the latter needs you to create the sessions folder as mentioned in the config file (.rtorrent.rc).
The last step for the day is getting the add-ons. These are the ones I got. None of them require any setup other than getting the files though the RSS plugin requires the curl install (sudo apt-get install curl in case you don’t already have it).
cd /var/www/rtorrent/plugins
svn checkout http://rutorrent.googlecode.com/svn/trunk/plugins/choose
svn checkout http://rutorrent.googlecode.com/svn/trunk/plugins/datadir
svn checkout http://rutorrent.googlecode.com/svn/trunk/plugins/edit
svn checkout http://rutorrent.googlecode.com/svn/trunk/plugins/_getdir
svn checkout http://rutorrent.googlecode.com/svn/trunk/plugins/rss
svn checkout http://rutorrent.googlecode.com/svn/trunk/plugins/seedingtime
svn checkout http://rutorrent.googlecode.com/svn/trunk/plugins/throttle
svn checkout http://rutorrent.googlecode.com/svn/trunk/plugins/tracklabels
svn checkout http://rutorrent.googlecode.com/svn/trunk/plugins/trafic
cd trafic
gedit conf.php
Make sure you set $isAutoStart to false since .rtorrent.rc starts the plug-in up.
And you’re done. Enjoy torrenting on linux with rTorrent and ruTorrent WebUI awesomeness :)
One last thing, make sure you compile XMLRPC-C with –disable-cplusplus. The XMLRPC-C install is the one thing that kept giving me issues. The solution to this was in a bug patch that could not be found. I simply have the patched file that you are free to use if you are facing the same issue. Take this file and put it in xmlrpc-c-1.11.00\lib\curl_transport and continue the process. The patched file comes with a disclaimer of course. I am not sure what changes were made. It worked for me. Use it at your own risk.
I hope this tutorial helps you lost souls trying to get rTorrent on Ubuntu with ruTorrent as your WebUI.
Created: 21st February 2010Category: Tutorials
Tags: Linux, Torrent, Ubuntu, WebUI, rTorrent, rutorrent